Your first restore
A restore changes files at its destination. Practise with the test folder from your first backup so you can check the exact result.
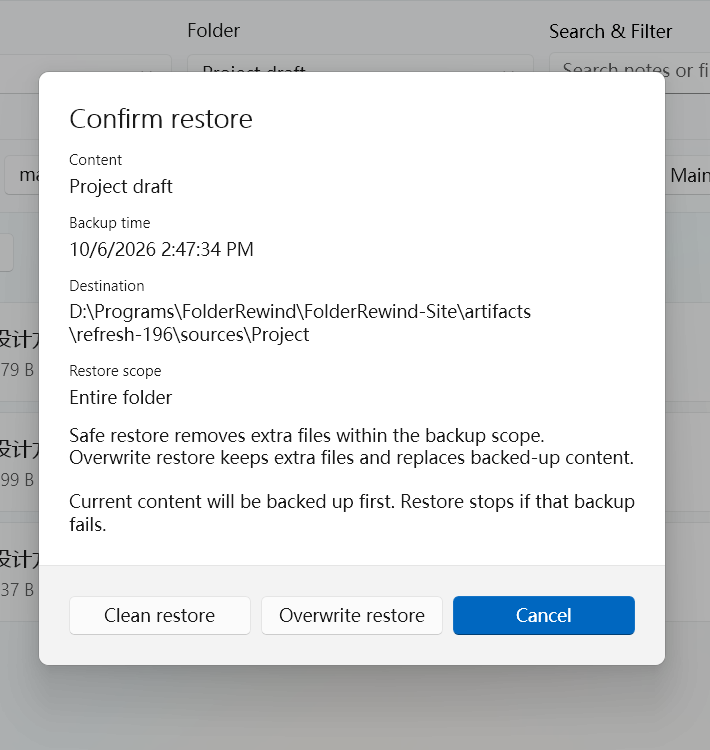
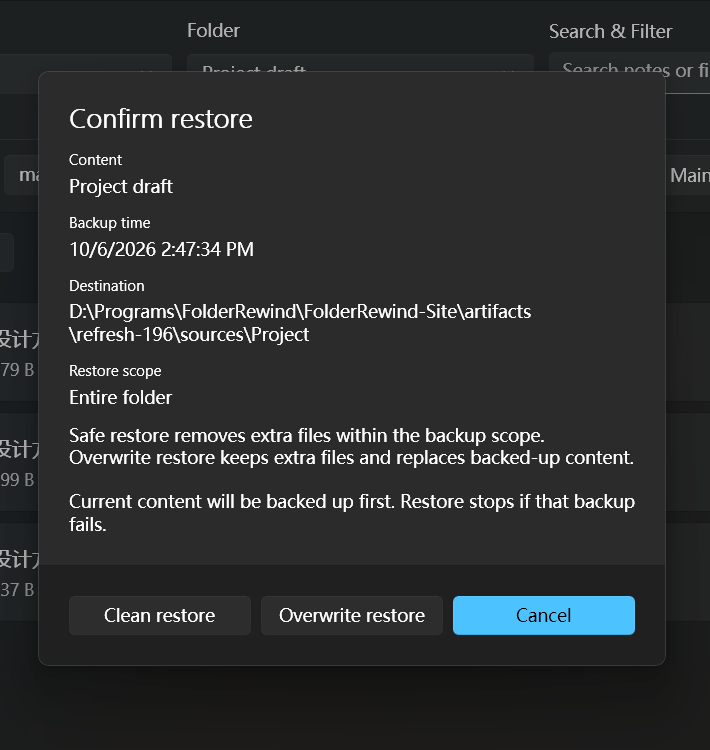
Review the restore mode. Backup before restore is enabled in this example. Interface version: 1.9.6.
1. Choose a version
Open history, select the project and source, and find a clearly named version such as “Initial version”. Check its time, scope and restore status. If the archive is only in the cloud, prepare that version and its dependencies first.
2. Review the destination and protection
Check the target path and close programs writing to it. Encrypted archives require the correct password. Minecraft hot restore also requires the appropriate coordination with the game.
Check Backup before restore in the confirmation window. This is separate from the restore mode; enabling Safe Restore alone does not mean a long-term backup version has been created.
3. Choose a restore mode
| Mode | What happens to files |
|---|---|
| Clean | Reconstructs the target state inside the managed range, removing content in that range that is absent from the selected version |
| Overwrite | Restores archived files and retains current content outside the captured range |
| Partial backup or legacy backup with unknown deletion boundaries | Uses Overwrite to avoid deleting content without backup evidence |
The restore whitelist keeps matching current files unless the archive contains the same path. For current state to always take precedence, see one-shot preservation.
4. Run and verify
Confirm and wait for the final result. Open the files and compare your added, changed and deleted test files. Game saves also need a loading check in the game.
NoChanges means no write was needed. Read warnings for SuccessWithWarnings. For RecoveryRequired or CommittedRecoveryRequired, keep the logs and use controlled recovery instead of repeating the restore.
Quick Restore and branch operations
Quick Restore prefers the active branch's unique tip. A source without an active branch can use its most recent recoverable legacy backup. It does not mean “the previous row”. Once a branch is active, Quick Restore does not automatically search other branches for a legacy version.
To switch approaches or combine files, read branches and merging. Ordinary restore's player, whitelist and path-preservation options do not apply to Checkout or Merge.