First Backup
This guide walks through your first verifiable backup workflow.
Before you start
- You have completed installation
- You know where the backup destination should be
- You are willing to test the workflow on non-critical data first
Path A: Create a config manually
1. Create a new config
Find the + New Config button in the upper-right corner of the home page and click it to expand the menu:
- New Config: create a blank config manually
- Create from Template: quickly create one using an existing template
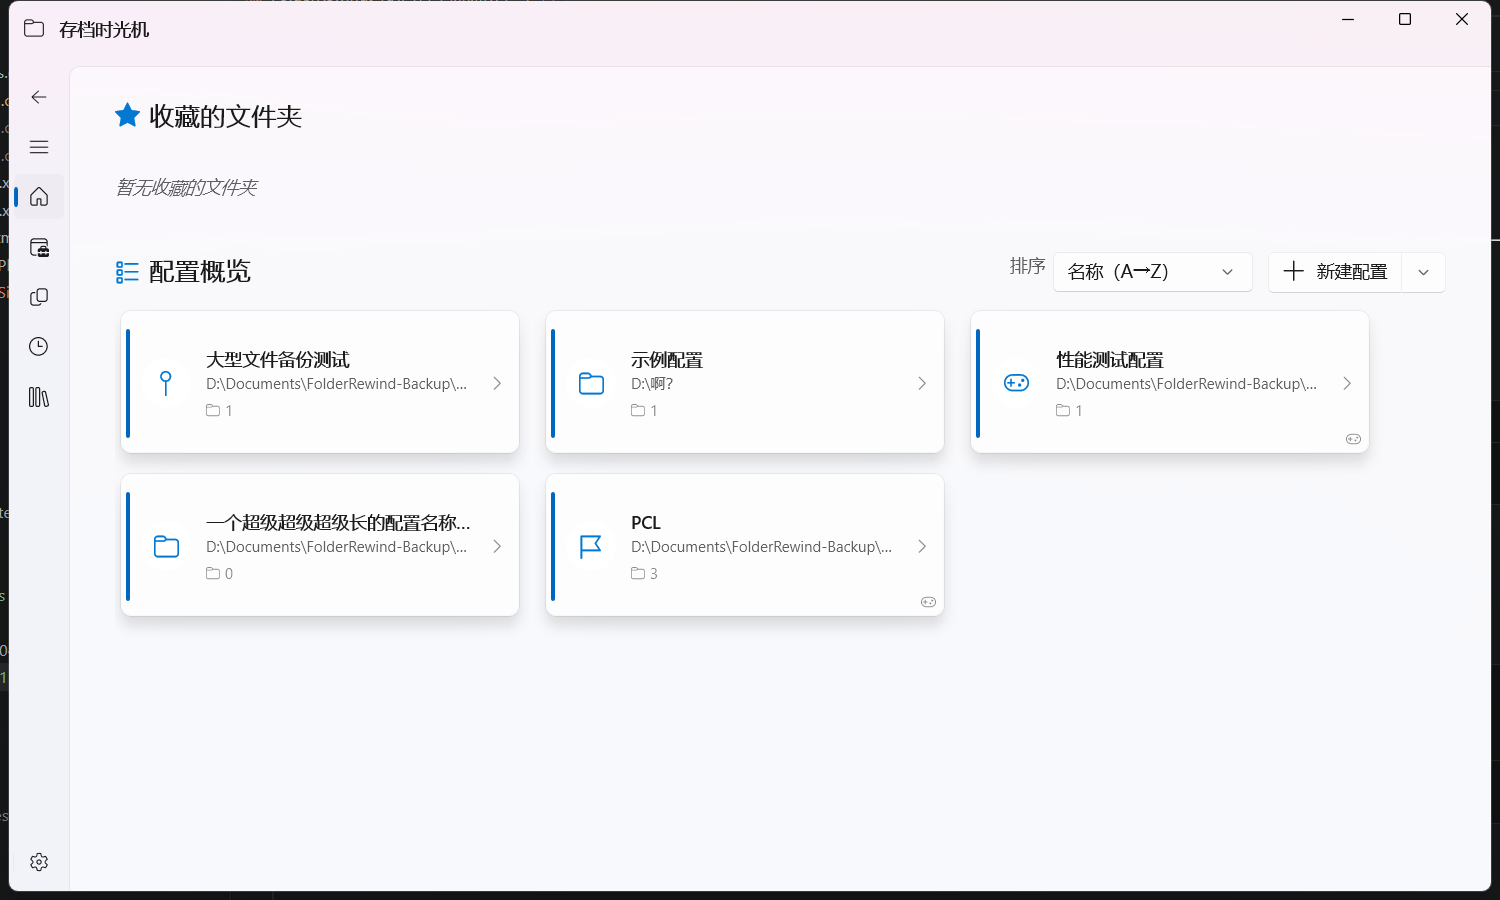
After selecting "New Config", a config type selection dialog appears:
- Default: general-purpose backup config, suitable for most scenarios
- Minecraft Saves: dedicated for Minecraft saves, automatically detects the saves directory
Enter a config name and click confirm to create.
2. Add folders to back up
After creation, you are automatically taken to the Config Management Page.
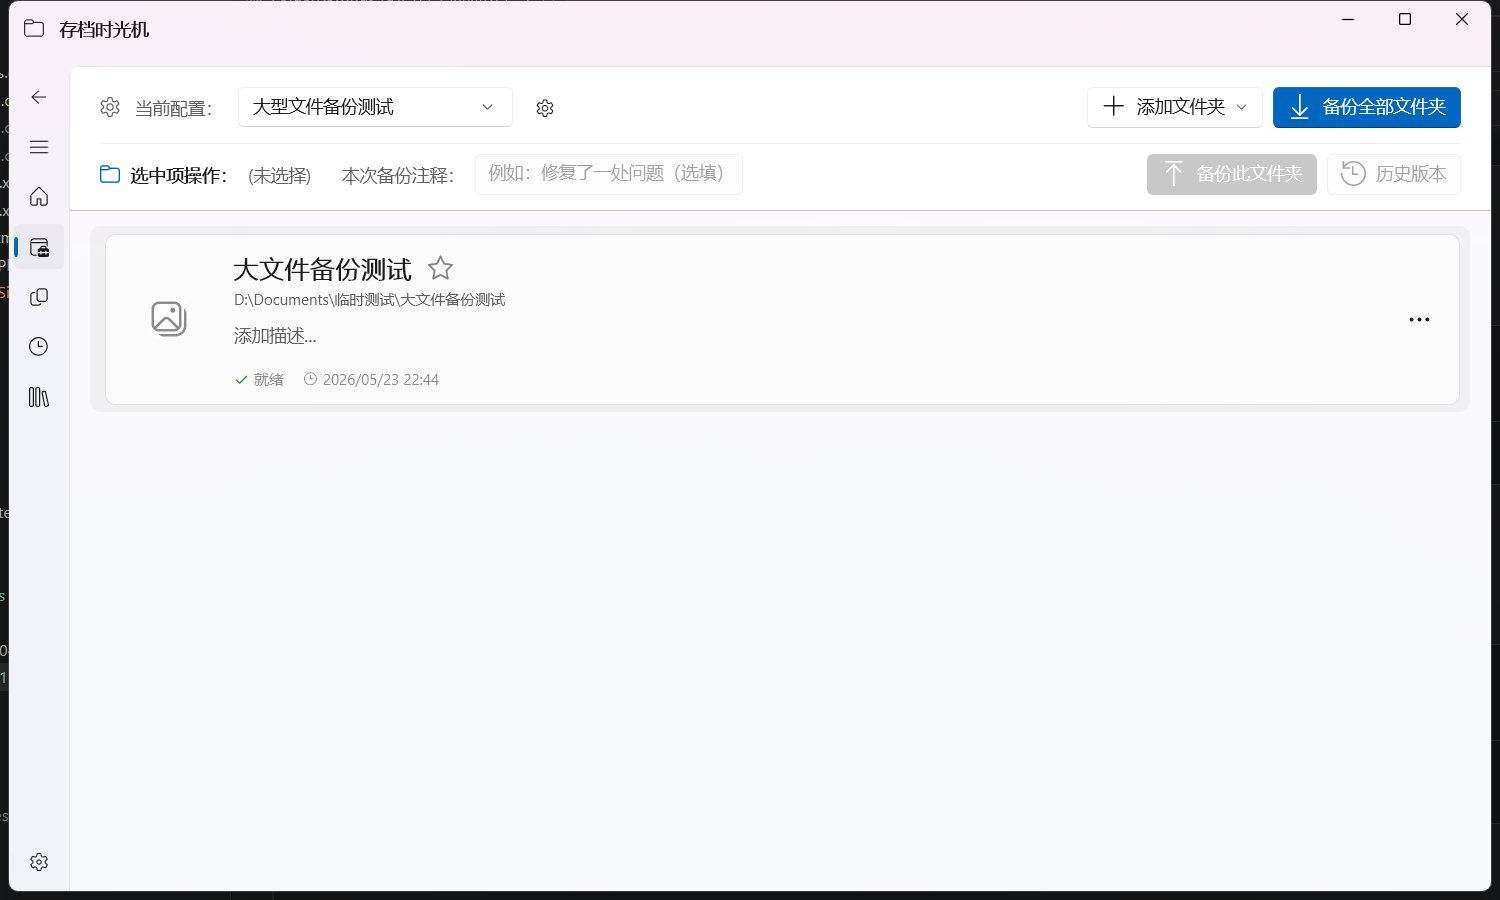
Click Add Folder in the top toolbar, then choose from the Flyout:
- Single Folder: manually select a directory
- Subfolders: select a parent directory and automatically scan its subfolders
After selection, the folders appear in the list below.
3. Run the backup
- Back up a single folder: select the target folder in the list and click Backup This Folder on the right side of the toolbar
- Back up all folders: click Backup All Folders directly
During the backup, you can switch to the Backup Tasks page in the bottom navigation bar to view progress.
Path B: Create a config from a template
If you already have reusable rules, or an official template matches your scenario:
- On the home page, click + New Config and select Create from Template
- In the template dialog:
- Select a locally saved template, or
- Search for an official template and import it (requires network)
- Confirm the suggested config type
- Review the auto-discovered source folder paths
- Check the directories you actually want to include in the backup
- Click create
After creation, you are automatically taken to the Config Management Page. The subsequent steps are the same as Path A (run the backup, verify the results).
Verify backup results
After the first backup, verify immediately:
Option A: View history records
- In the Config Management Page, select the folder you just backed up
- Click the History button to enter the history timeline
- Confirm that the latest backup record appears and its status is blue (normal)
See First Restore for detailed steps.
Option B: Run automatic core validation
Open Settings and find Automatic Core Feature Validation. It automatically verifies:
- backup
- restore
- safe delete
- keep-count cleanup
- shared-lock file handling
This is recommended for a general verification before enabling automatic backups.
Template-related next steps
If this config becomes stable:
- Click Save as Template in config settings for reuse on other devices or projects
- See Templates: Create and Use and Templates: Share and Import