Creating Your First Config
MineBackup supports multiple configs running in parallel. Each config can be thought of as an independent rule set (paths, compression, mode, tasks).
If you manage multiple launchers or multiple save root directories, we recommend getting into the habit of "one config maps to one category of worlds" from the very start.
Guided Config Creation Flow
When you first open MineBackup.exe, a friendly setup wizard will greet you. The sole purpose of this wizard is to help you complete the most basic setup in the simplest way possible, so the program is ready to work immediately.
Welcome and Introduction
The wizard's first page briefly explains its purpose. Simply click the Start Configuration button to proceed to the next step.
Step 1: Locate Your Game Saves
This is the most critical step: tell MineBackup where your saves are stored.
-
"Save root directory" refers to the parent directory that contains all your world folders.
-
Common examples:
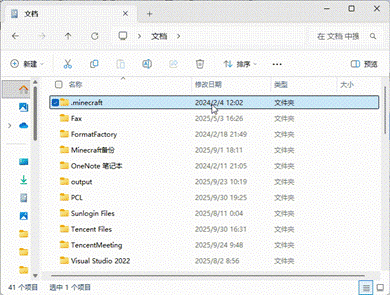
- Java Edition: Usually located at
%APPDATA%\.minecraft\saves, which can be written as:
- Java Edition: Usually located at
C:\Users\<username>\AppData\Roaming\.minecraft\saves
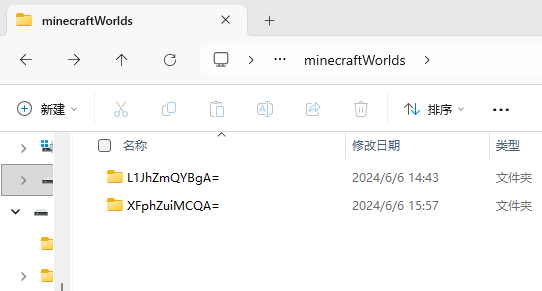
- Bedrock Edition (Windows 10/11): Saves are located under the system package path, for example:
C:\Users\<username>\AppData\Local\Packages\Microsoft.MinecraftUWP_8wekyb3d8bbwe\LocalState\games\com.mojang\minecraftWorlds
The naming is less predictable~ but don't worry, MineBackup will recognize them automatically!
How to fill in:
- Auto-select (Recommended): Use the
Auto-detect Java Edition save pathorAuto-detect Bedrock Edition save pathbutton, and the program will auto-fill the default path. - Manual selection: If you use a third-party launcher or want to back up other games (such as Terraria), click
Select Folder...and choose the parent folder containing the target worlds in the dialog.
Example:
- To back up two folders on your Desktop called "Work Files" and "Study Files," select their parent directory, for example:
C:\Users\<username>\Desktop
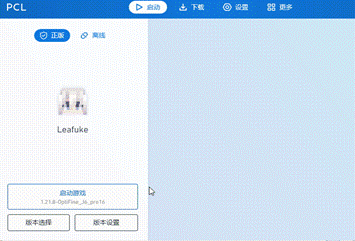
- If you use a launcher like PCL2, you can copy the path from the launcher's "Open save folder" option and paste it into the wizard.
Step 2: Specify the Backup Repository
Choose a directory to store all backup archives:
- Click
Select Folder...and pick a location with plenty of disk space and reliable storage. - We strongly recommend not placing the backup directory on the same disk partition as your saves. Ideally, use a separate physical disk or an external drive to reduce the risk of data loss from disk failure.
- Example:
D:\MC Backups\1.20.1. MineBackup will automatically create subdirectories by world name within this directory to distinguish different worlds.
Step 3: Configure the Compression Tool
MineBackup uses 7z.exe for compression:
- Built-in first: The program will typically use the built-in
7z.exeautomatically and display "Now using the built-in compression program!" - Fallback lookup: If the built-in version is unavailable, the program will try to find an installed 7-Zip from the system registry.
- Manual specification: If you need to use a specific version, click
Select 7z.exe...to manually specify the executable path.
Finish Configuration
Once all information is entered correctly, click Finish Configuration. The wizard window will close, and the MineBackup main interface will open and automatically scan your specified saveRoot, listing the discovered worlds for you to manage. Your save protection journey begins now!
The Most Important Config Fields
saveRoot: World root directoryworlds: World list (name + description)backupPath: Backup output directoryzipPath/zipFormat/zipMethod/zipLevelbackupMode,keepCount,skipIfUnchanged
Decide Before Creating: How to Split Your Configs
Recommended splitting strategies:
- By launcher: Official launcher / third-party launcher
- By purpose: Production survival / test modpacks
- By instance: Singleplayer / small server
Do not let multiple configs write identically named worlds into the same backup directory -- this greatly increases the risk of accidental overwrites.
Recommended Creation Flow
- Create a new Normal Config
- Set
saveRootandbackupPath - Scan the world directory and confirm the world list
- Keep the default compression parameters and run a validation backup
Recommended First Config Parameters (Conservative)
backupMode: Full (stability first)skipIfUnchanged: EnabledkeepCount: 30 (adjust based on available disk space)zipLevel: Medium (default is fine)
The goal of these parameters: establish a stable feedback loop first, then optimize for size and performance.
World Scanning Notes
- Scanning reads directory entries under
saveRoot - World descriptions help distinguish items in the UI -- avoid leaving too many blank
- In multi-launcher environments, split into multiple configs to avoid directory conflicts
Additional tips:
- Write world descriptions in the format "version + modpack + purpose" for easier retrieval later
- Temporary worlds you do not intend to back up can be noted in the description to reduce accidental operations
Completion Criteria
- At least 1 world exists
- Backup directory is writable
- Compression program path is valid
Extra Validation (Optional but Recommended)
After completing the config, immediately run a minimal "change one file, then back up" validation:
- Enter the target world and make a visible change
- Exit the game (or keep it running and prepare for hot backup)
- Execute the backup and confirm a new entry appears in history
If this step succeeds, your config is essentially ready for daily use.
Next: Continue to Your First Backup.